User Wallets
Please note that this document will be updated periodically.
Step 1: Edit User Wallets
How to access User Wallets
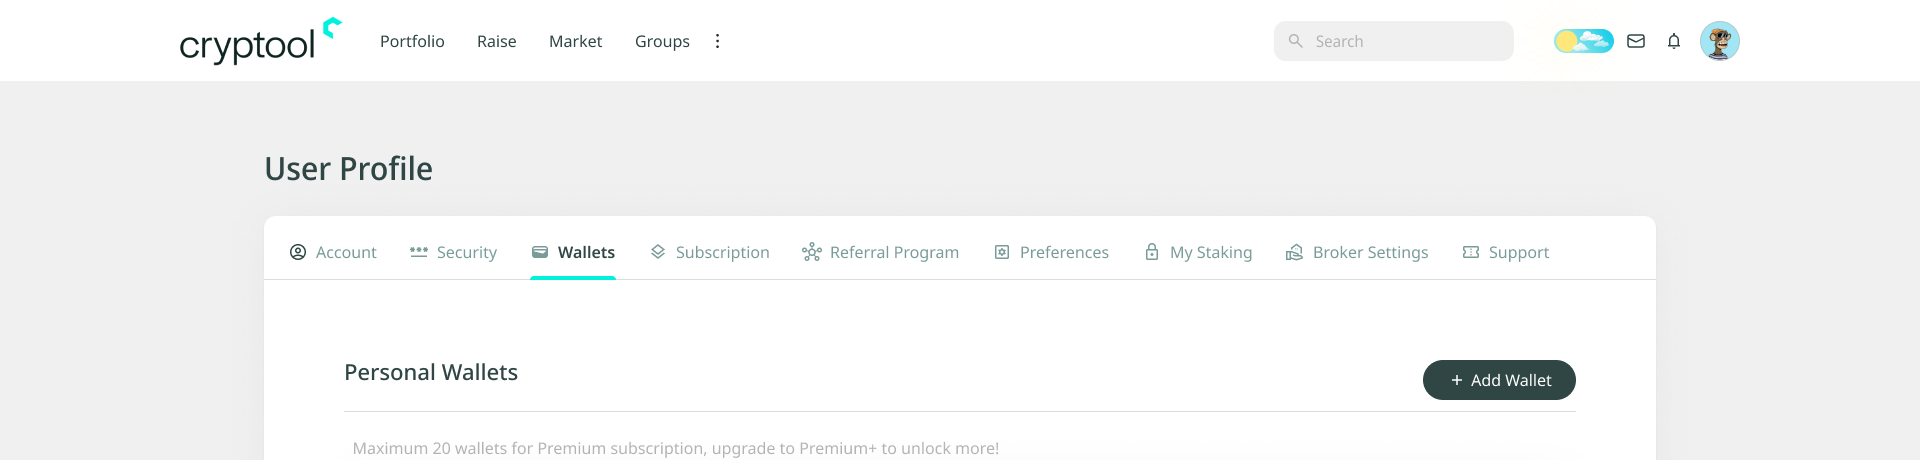
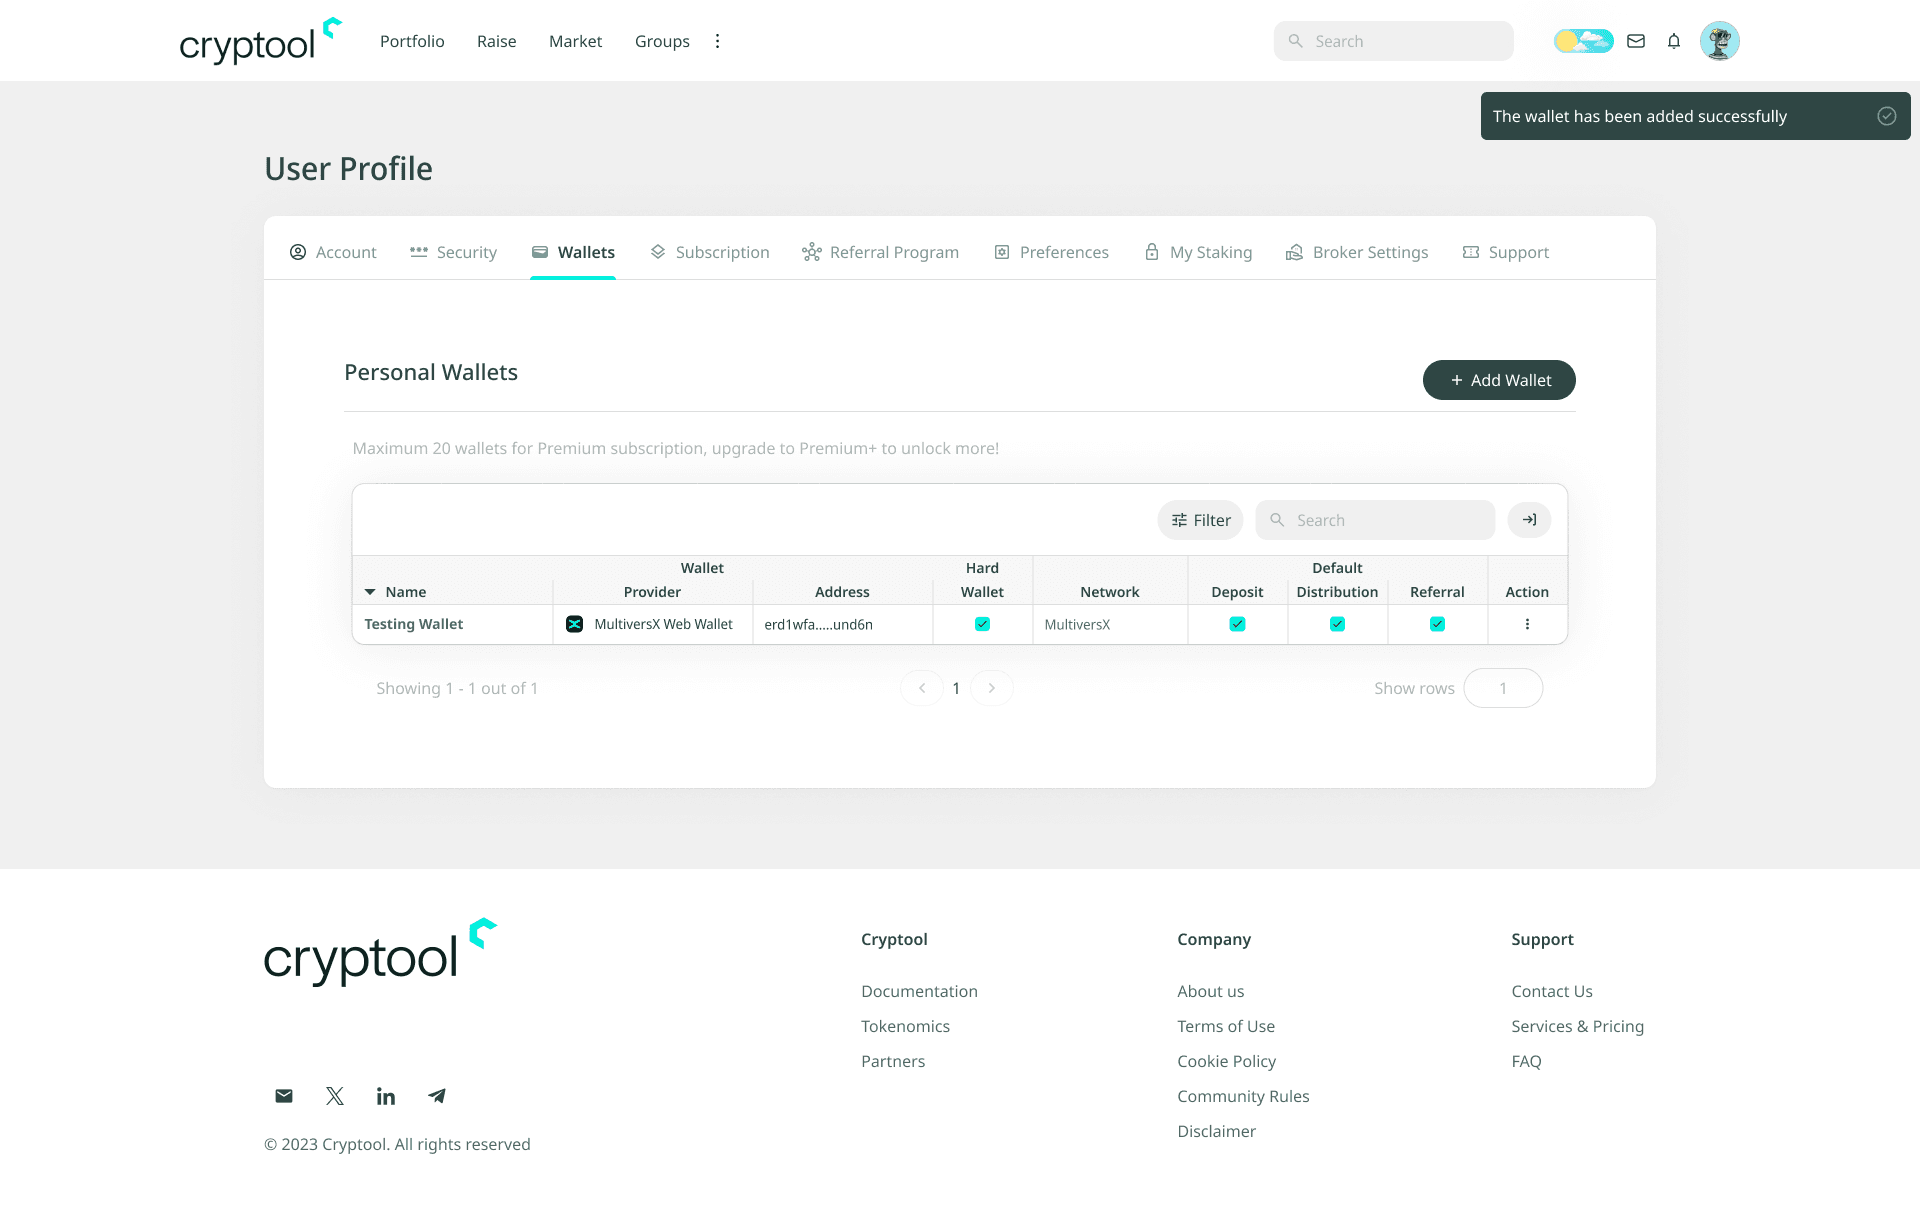
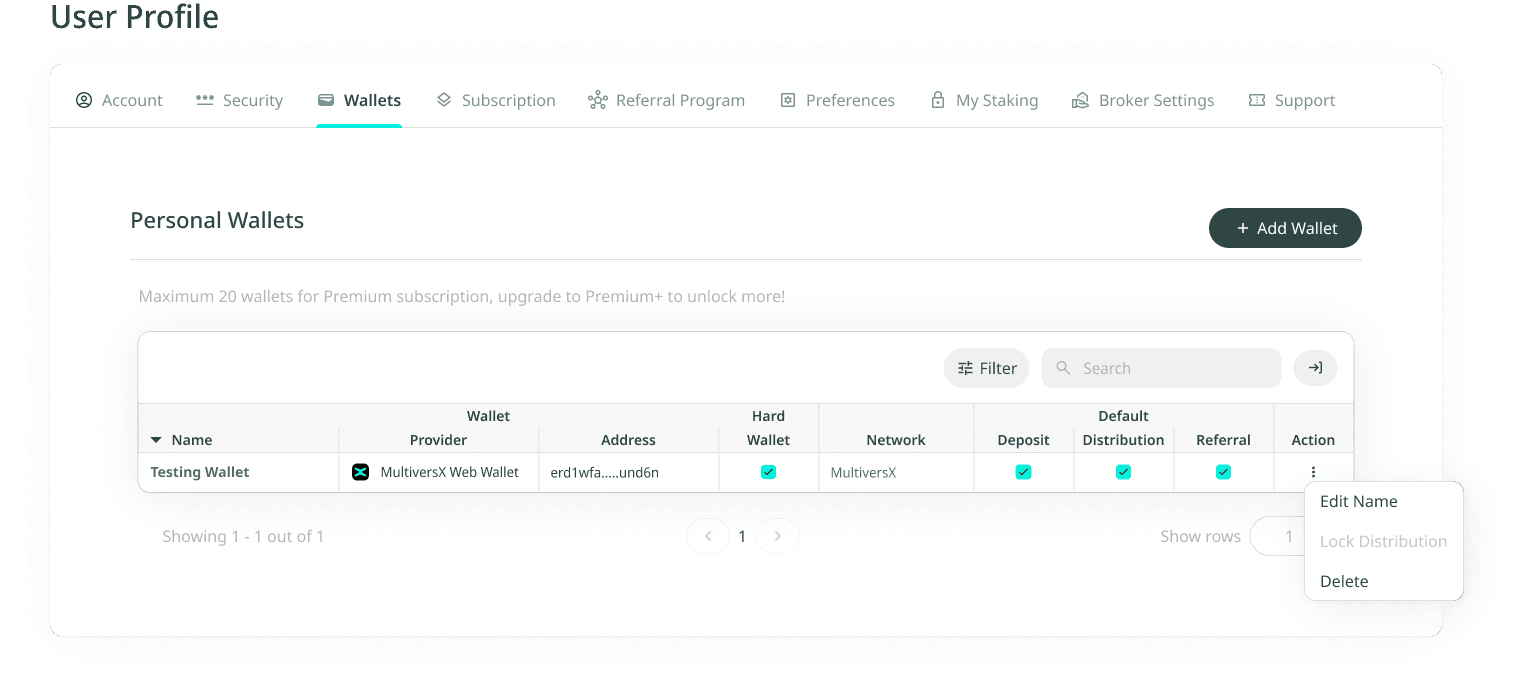
Click on the person icon on the top right, select View Profile from the dropdown, and click on the Wallets tab. Your registered wallets are shown in the Personal Wallets table.
Wallet details columns
- Name
- Provider
- Address
- Hard Wallet
Default platform details columns
- Network
- Deposit
- Distribution
- Referral
- Action
Step 2: Add a User Wallet
In the following example we will add a MultiversX wallet. You can add any wallet from any network provider provided you sign it with the corresponding signing method.
Navigate to User Profile
- Click on the Wallets tab under your User Profile.
- Click on Add Wallet in the top right corner.
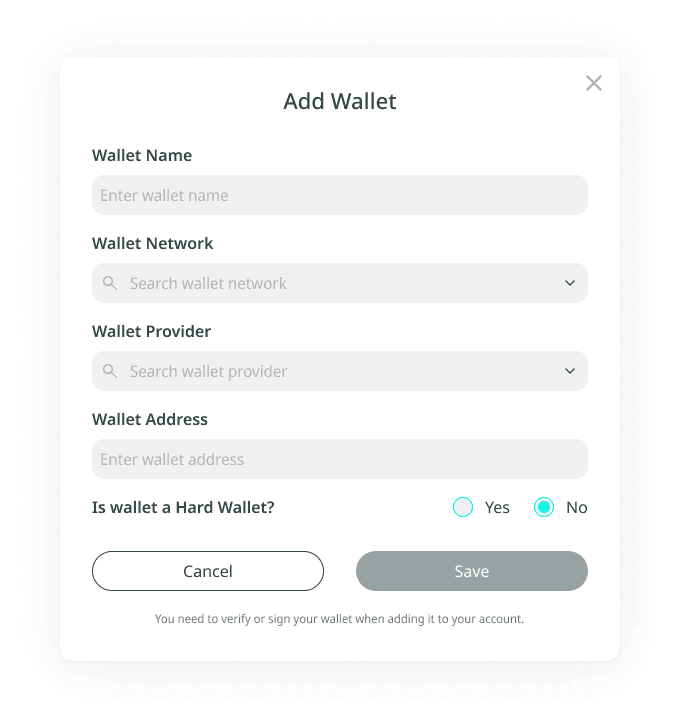
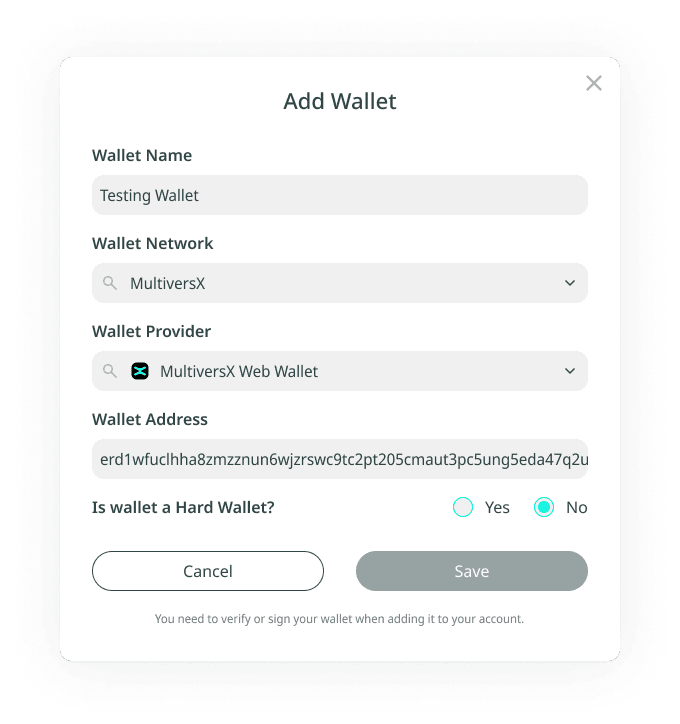
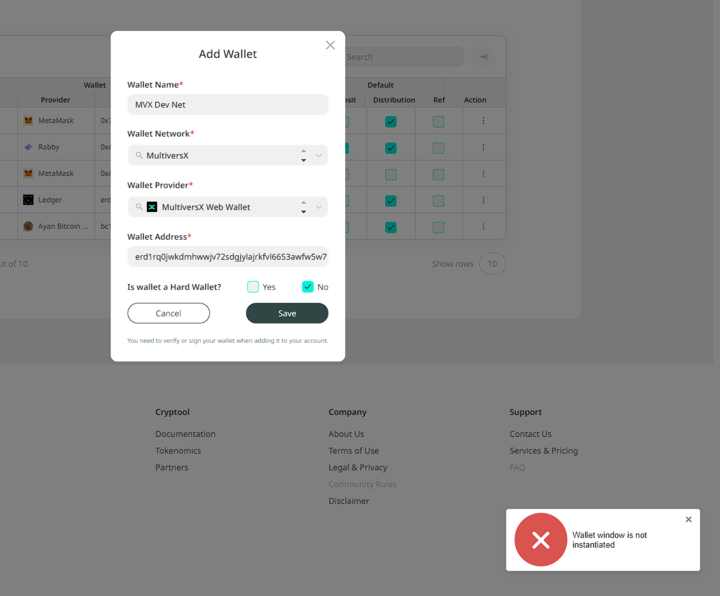
Enter wallet details
- Wallet Name — choose your desired wallet name.
- Network — select your desired network (e.g. MultiversX).
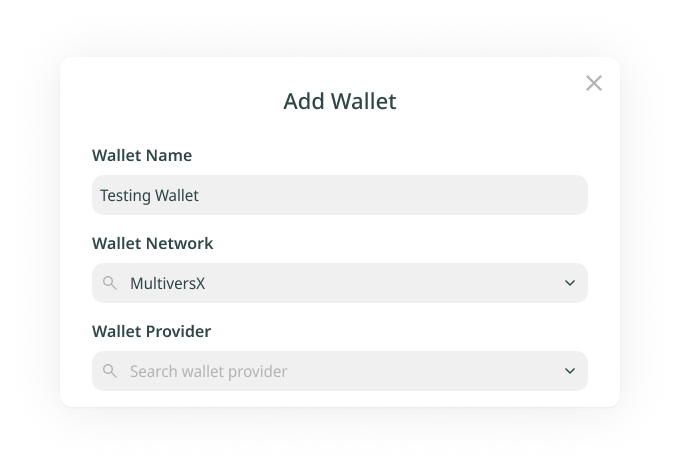
Choose wallet provider
Under Wallet Provider, select MultiversX Web Wallet. A new tab will open prompting you to connect your wallet. For MultiversX, you have several options for connecting:
- Connect Ledger (hardware wallet)
- xPortal App
- Keystore File
- Web Portal Wallet (browser wallet)
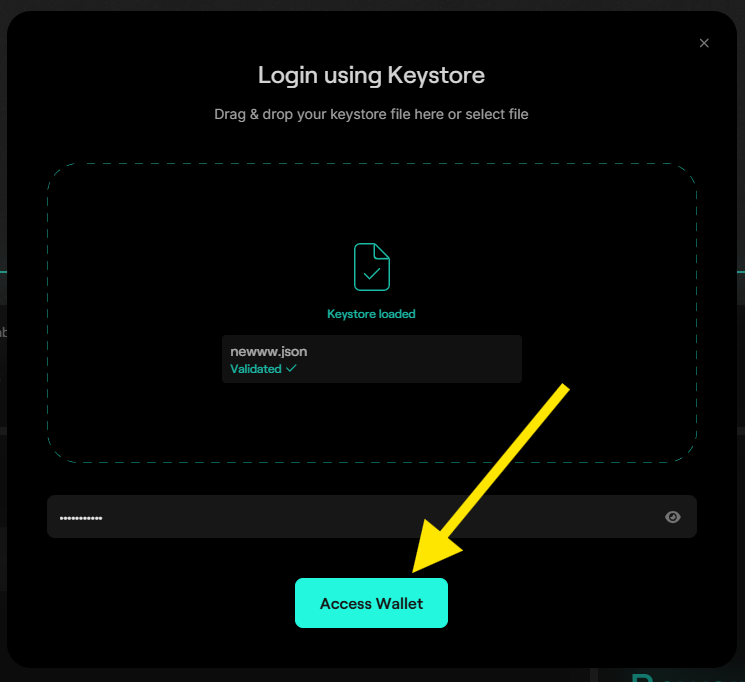
Connect wallet
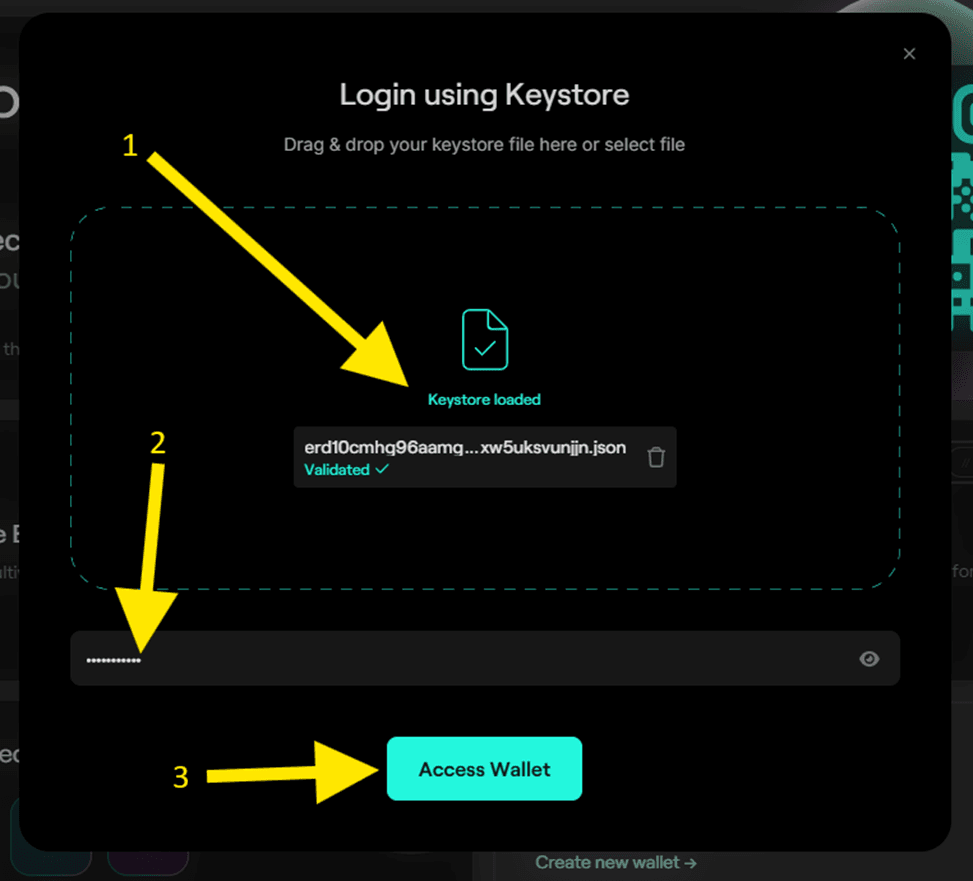
- If using a Keystore File, click the keystore icon to verify your wallet provider and fetch the wallet address.
- Upload Keystore File — drag and drop or upload your keystore file.
- Enter Password — type in your wallet password.
- Click Access Wallet.

Select wallet
A list of wallets connected to your keystore will appear. Choose the first wallet and click Access Wallet.
Save wallet
You will be redirected back to Cryptool.io and the wallet address will auto-fill. Click Save to complete the process. A new tab will open confirming your wallet addition.
Verify wallet
Re-enter your wallet password and click Access Wallet again to verify your wallet.
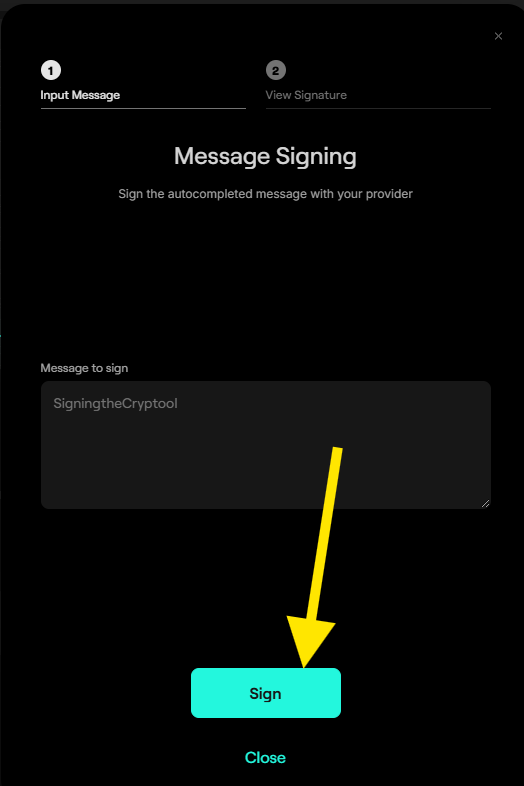
Sign your wallet
A new tab will open asking for your wallet password once again. Type your password and click Access Wallet.
Sign and submit transaction
In this final step, you will be asked to sign and submit a transaction to add the wallet to your profile. Click on Sign & Submit.
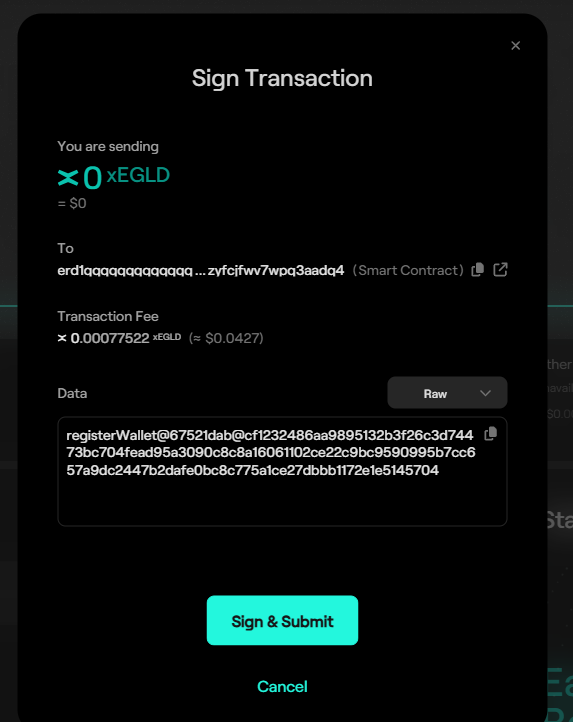
Wait for confirmation
Wait for the transaction to process. Once complete, you will receive a toaster message confirming the wallet addition.
Step 3: Set a Default Wallet
How to set a default wallet
The newly added wallet will appear in your Personal Wallets table. Click the checkbox next to the wallet you want to set as the default.
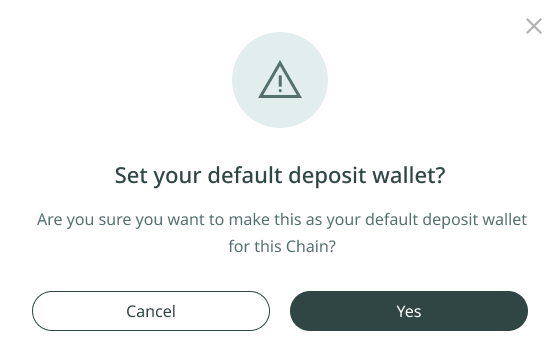
Set default for Deposit, Distribution, and Referral
Once the wallet is selected, click on Set your default deposit, distribution, referral wallet. A confirmation prompt will appear — click Yes to confirm and set this wallet as the default for all related functions.
Important: the first wallet of each network will automatically have Deposit, Distribution, and Referral wallets set as default.
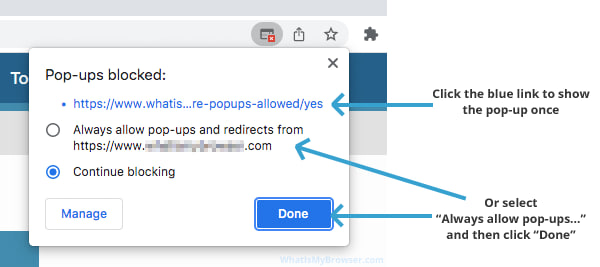
Troubleshooting
If you receive a "Wallet window is not instantiated" or "Provider not instantiated" error, please ensure you allow pop-ups from Cryptool.io or your wallet provider in your browser.
Step 4: Edit the Name of a User Wallet
How to edit the name of a wallet
- Go to the Personal Wallets table.
- In the Action column, click the three dots next to the wallet you want to edit.
- Select Edit Name from the dropdown.
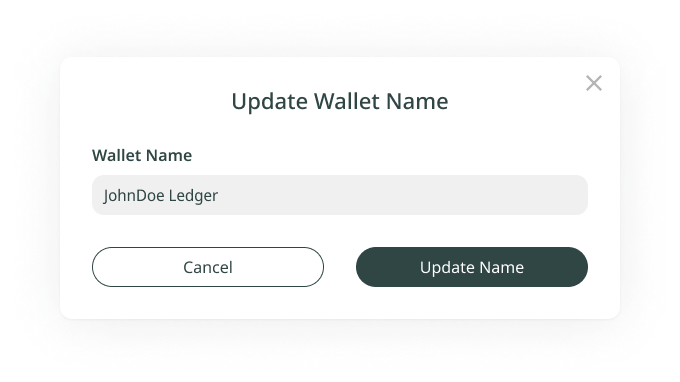
- A pop-up will appear asking for a new wallet name — enter your desired wallet name.
- Click Save to confirm the change.
Step 5: Lock a User Wallet
How to lock Distribution to a wallet
- Go to the Personal Wallets table in your User Profile.
- In the Action column, click the three dots next to the wallet you want to lock.
- From the dropdown menu, select Lock Distribution. This will prevent any pools from distributing tokens to this wallet.
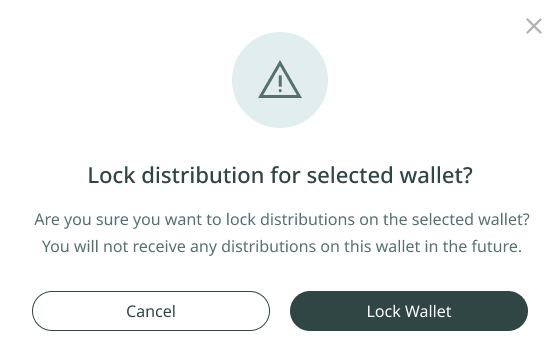
- A pop-up will appear asking you to confirm the locking process. Click Lock Wallet to finalize. This will prevent all future token distributions from any pools associated with this wallet.

Step 6: Delete a User Wallet
How to delete a wallet
- Go to the Personal Wallets table.
- In the Action column, click the three dots next to the wallet you want to delete.
- Select Delete from the dropdown.
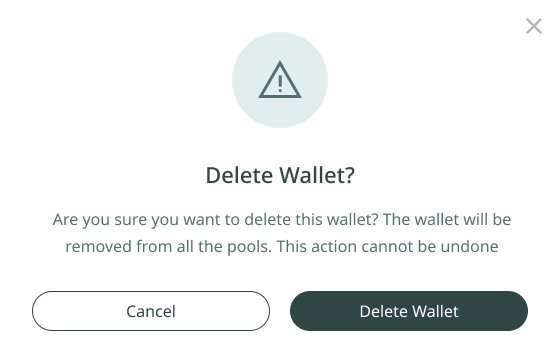
- A pop-up will appear asking you to confirm the deletion. Click Delete Wallet to remove it from your profile.
'%3e%3cpath%20d='M3.58464%2016.6693C3.1263%2016.6693%202.73394%2016.5061%202.40755%2016.1797C2.08116%2015.8533%201.91797%2015.4609%201.91797%2015.0026V5.0026C1.91797%204.54427%202.08116%204.15191%202.40755%203.82552C2.73394%203.49913%203.1263%203.33594%203.58464%203.33594H16.918C17.3763%203.33594%2017.7687%203.49913%2018.0951%203.82552C18.4214%204.15191%2018.5846%204.54427%2018.5846%205.0026V15.0026C18.5846%2015.4609%2018.4214%2015.8533%2018.0951%2016.1797C17.7687%2016.5061%2017.3763%2016.6693%2016.918%2016.6693H3.58464ZM10.2513%2010.8359L16.918%206.66927V5.0026L10.2513%209.16927L3.58464%205.0026V6.66927L10.2513%2010.8359Z'%20fill='%232F4644'/%3e%3c/g%3e%3c/svg%3e)


'%3e%3cpath%20d='M17.6986%203.85159L15.058%2016.3047C14.8587%2017.1836%2014.3392%2017.4024%2013.6009%2016.9883L9.57749%2014.0235L7.63608%2015.8906C7.42124%2016.1055%207.24155%2016.2852%206.82749%2016.2852L7.11655%2012.1875L14.5736%205.44924C14.8978%205.16018%2014.5033%205.00002%2014.0697%205.28909L4.85093%2011.0938L0.882175%209.85159C0.0188933%209.58205%200.00326826%208.9883%201.06186%208.57424L16.5853%202.59377C17.3041%202.32424%2017.933%202.75393%2017.6986%203.85159Z'%20fill='%232F4644'/%3e%3c/g%3e%3cdefs%3e%3cclipPath%20id='clip0_17601_246206'%3e%3crect%20width='17.5'%20height='20'%20fill='white'%20transform='translate(0.25)'/%3e%3c/clipPath%3e%3c/defs%3e%3c/svg%3e)